How to Create Stunning Designs with Dial Printing
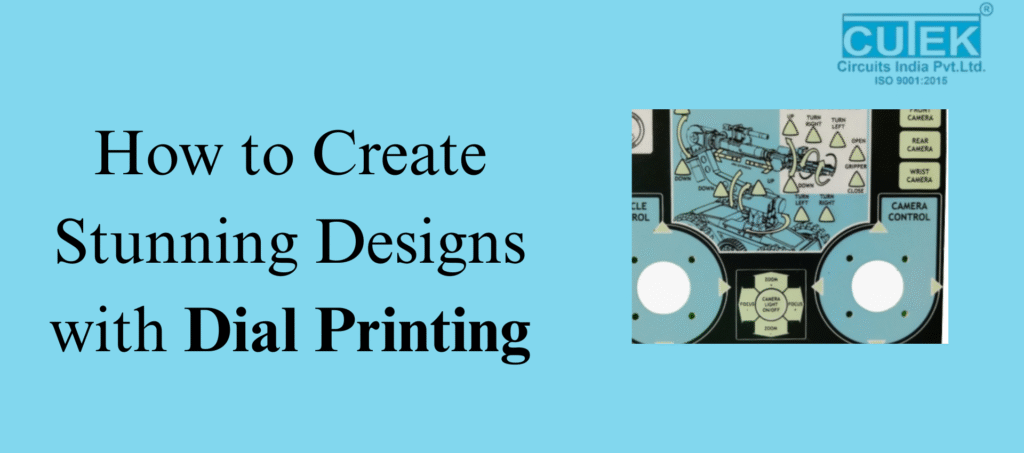
Dial printing is a precise and durable printing method used to create clean, sharp, and long-lasting designs on dials, panels, and industrial interfaces. Whether used in automotive dashboards, home appliances, or machinery, dial printing ensures accuracy and a professional finish. What Exactly Is Dial Printing and How Does It Enhance Design Quality? What Is Dial Printing? Dial printing is a specialized technique used to print numbers, scales, symbols, and graphics on dials. It offers exceptional clarity, alignment, and durability, making it ideal for industries that demand precision. How It Enhances Design Quality High Precision: Ensures markings and text stay perfectly aligned. Long-Lasting: Uses UV-resistant and scratch-resistant inks. Accurate Colors: Supports CMYK and Pantone standards for consistent shades. Multiple Materials: Works on polycarbonate, acrylic, PVC, ABS, and metal. Premium Finish: Results in clean, sharp, and professional designs. Dial printing combines beauty with durability—making it perfect for both aesthetics and usability. What Is the Best Process to Follow for Creating Stunning Dial Printing Designs? 1. Understand the Application Before designing, identify where the dial will be used. Is it for a car, machine, electronic device, appliance, or medical equipment?This helps in choosing the right material, ink, and printing method. 2. Choose the Right Material Different materials give different results: Polycarbonate: Best for backlit or illuminated dials Acrylic: Clear, glossy, and premium looking Metal: Strong and suitable for heavy-duty use PVC / ABS: Cost-effective and versatile The material directly affects print sharpness and durability. 3. Design with Precision Dial designs must be clear, readable, and error-free.Follow these rules: Use vector files (AI, CDR) for crisp edges Keep proper alignment and spacing Use simple, readable fonts Maintain strong color contrast Avoid cluttered designs Add proper bleed and safe zones Precision is key because even small mistakes become noticeable on a dial. 4. Pick the Right Printing Technique Screen Printing Ideal for solid colors Very durable Best for bulk production Digital Printing Great for detailed and colorful designs Supports gradients and complex patterns UV Printing Sharp details Instant curing Premium look Pad Printing Works well on curved or textured surfaces Choose a technique based on design complexity, material, and budget. 5. Select the Right Ink and Finish Use industrial inks like UV-curable or solvent-based inks Choose the finish based on the look you want: matte, glossy, or textured For backlit dials, use translucent inks for smooth lighting Good ink and finishing elevate both look and durability. 6. Test, Review, and Prototype Always test before final production.Check for: Color accuracy Alignment Sharpness Backlight performance (if used) A prototype helps catch issues early and ensures a perfect final result. What Are the Common Challenges in Dial Printing and How Can You Avoid Them? 1. Misalignment Even a small shift can make the dial look incorrect.Solution: Use accurate die-line files and alignment guides. 2. Color Inconsistency Printed colors may look different from digital designs.Solution: Use Pantone or calibrated CMYK profiles and test prints. 3. Low-Resolution Artwork Low-quality images look pixelated.Solution: Always design in vectors. 4. Poor Ink Adhesion Ink may peel if the material isn’t prepared.Solution: Clean and pre-treat surfaces properly. 5. Uneven Backlighting Backlit dials may show hotspots.Solution: Use translucent inks and test lighting during prototyping. Where Is Dial Printing Commonly Used? Major Applications Vehicle dashboards and speedometers Industrial and machine control panels Home appliance interfaces Medical equipment displays Electronic device panels Clocks, timers, and measuring instruments Dial printing is trusted across industries for its accuracy and durability. Dial printing is one of the best methods for producing clear, durable, and visually appealing dial designs. With the right materials, printing techniques, and careful design planning, you can create dials that are both functional and beautiful. FAQ’s Q1: Which materials are best for dial printing? Polycarbonate, acrylic, metal, PVC, and ABS offer excellent durability and print quality. Q2: Is dial printing good for backlit designs? Yes. Using translucent inks ensures smooth and even lighting for backlit dials. Q3: How long does dial printing last? With high-quality inks, dial printing can last for many years without fading or peeling. Q4: Can dial printing handle complex designs? Yes. Techniques like digital and UV printing support gradients, textures, and multicolor artwork. Q5: What file format should be used? Vector formats such as AI, CDR, EPS, or PDF are ideal for sharp and accurate printing. Contact Cutek Circuits 📍 Address: 4/4 Badhe Industrial Estate, Next To Silver Star Hall, OPP. To Angaraj Hotel, Kondhwa, Pune, Maharashtra 411048, INDIA 📞 Phone: +91 92255 24304 | +91 98237 84304 | +91 87930 34304 📧 Email: info@cutekcircuits.com | sales@cutekcircuits.com 🌐 Website: https://cutekcircuits.com
How To Maintain And Clean Your Backlit Membrane Keyboard
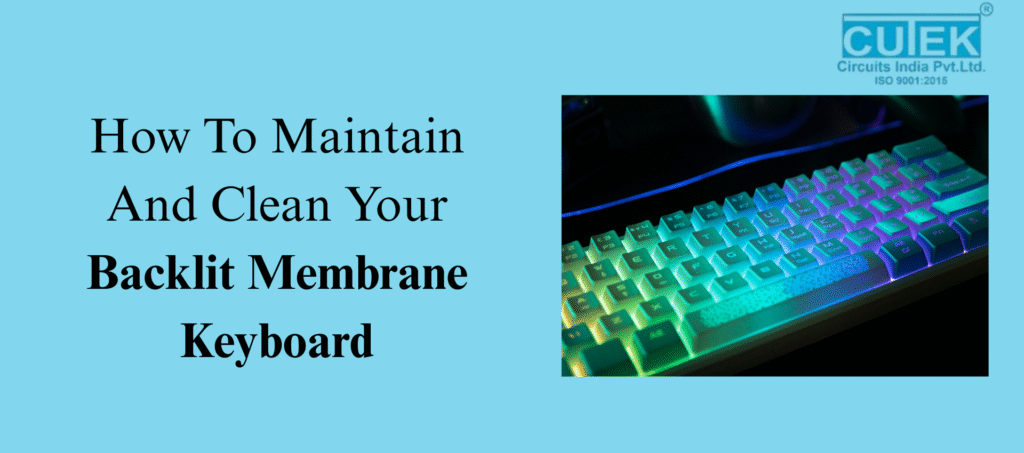
Backlit membrane keyboards are widely loved for their soft typing feel, attractive lighting, and affordable design. However, whether you use one for gaming, office work, or everyday tasks, it naturally collects dust, oils, fingerprints, and debris over time. As a result, this buildup not only makes your keyboard look dirty but also reduces key responsiveness and affects backlight brightness.To help you keep your keyboard in top condition, here are the most essential questions and answers on how to clean and maintain Backlit Membrane Keyboards effectively. What Is a Backlit Membrane Keyboard and Why Does It Need Cleaning? Backlit membrane keyboards use a soft pressure-sensitive membrane layer combined with LED lighting underneath the keys. However, dirt, oils, and dust can interfere with this membrane, making the keys feel sticky or less responsive. Additionally, when dust settles over the gaps, it blocks the LED light, making the backlight appear dim.Therefore, regular cleaning helps maintain smooth keypresses, bright lighting, and overall durability. What Makes Backlit Membrane Keyboards Dirty? Daily usage exposes your keyboard to: Dust and airborne particles Sweat and natural oils from your fingers Food crumbs and snack residue Accidental spills or moisture Over time, these contaminants build up and reduce typing accuracy, eventually creating sticky keys and dimming the backlight. What Tools Do You Need to Clean It Safely? Recommended Tools Microfiber cloth Soft brush or small paintbrush Cotton swabs 70% isopropyl alcohol Compressed air (optional) Tools to Avoid Harsh chemicals Too much water Sharp objects or metal tools Strong cleaners that can fade key lettering By choosing the right tools and avoiding the harmful ones, you ensure safe and effective cleaning without damaging the membrane or LEDs. How Do You Clean a Backlit Membrane Keyboard for Daily or Weekly Maintenance? Step-by-Step Routine Unplug the keyboard to prevent accidental input. Wipe the surface using a dry microfiber cloth. Brush between the keys with a soft brush to remove hidden dust. Dampen the cloth slightly with isopropyl alcohol and gently wipe key surfaces. This simple routine keeps your keyboard fresh and maintains good backlight visibility throughout the week. How Do You Deep-Clean a Backlit Membrane Keyboard Safely? Deep cleaning is important when keys feel sticky or the backlight looks uneven. Deep Cleaning Steps Disconnect the keyboard completely. Remove keycaps gently (only if your model allows it). Use compressed air to blow out deep-seated dirt. Clean edges and under-key areas with alcohol-dipped cotton swabs. Let it dry fully before reattaching keycaps. Overall, deep cleaning restores smooth keypress functionality and improves LED clarity. How Often Should You Clean Your Backlit Membrane Keyboard? Weekly: Light clean (wipe + dust removal) Monthly: Deep clean Immediately: If a spill occurs or keys become sticky Following a regular cleaning routine prevents long-term damage to the membrane and lighting system. What Mistakes Should You Avoid While Cleaning? Here are common cleaning mistakes that can harm Backlit Membrane Keyboards: Using water directly on the keyboard Spraying cleaners or disinfectants directly Removing keycaps if the keyboard doesn’t support it Using harsh chemicals that fade letters Cleaning while the keyboard is plugged in Using sharp or metal tools to scrape dirt By avoiding these mistakes, you can prevent internal damage and ultimately extend your keyboard’s lifespan. How Can You Keep Your Backlit Membrane Keyboard Clean for Longer? Useful Prevention Tips Use a keyboard protector or dust cover Avoid eating near the keyboard Wash or wipe your hands before typing Dust the keyboard regularly Keep pets away to prevent hair buildup Practicing these habits reduces the need for frequent deep cleaning. FAQ Q1. Can I use wet wipes to clean Backlit Membrane Keyboards? Yes, but only alcohol-based wipes that are not overly wet. Avoid scented or chemical-heavy wipes. Q2. Can I remove the keycaps on a membrane keyboard? Only if the manufacturer mentions that keycaps are removable. Many membrane keyboards have fixed keys. Q3. Why is my backlight still dim after cleaning? Possible reasons include LED aging, internal dust, or slight moisture damage inside the keyboard. Q4. Can I clean the keyboard while it is connected? No. Always unplug the keyboard before cleaning to avoid accidental key presses or electrical damage. Contact Cutek Circuits Address: 4/4 Badhe Industrial Estate, Next To Silver Star Hall, OPP. To Angaraj Hotel, Kondhwa, Pune, Maharashtra 411048, INDIA Phone: +91 92255 24304 | +91 98237 84304 | +91 87930 34304 Email: info@cutekcircuits.com | sales@cutekcircuits.com Website: https://cutekcircuits.com