Membrane Keyboard Manufacturing Process: A Complete Step-by-Step Guide for Industrial Applications
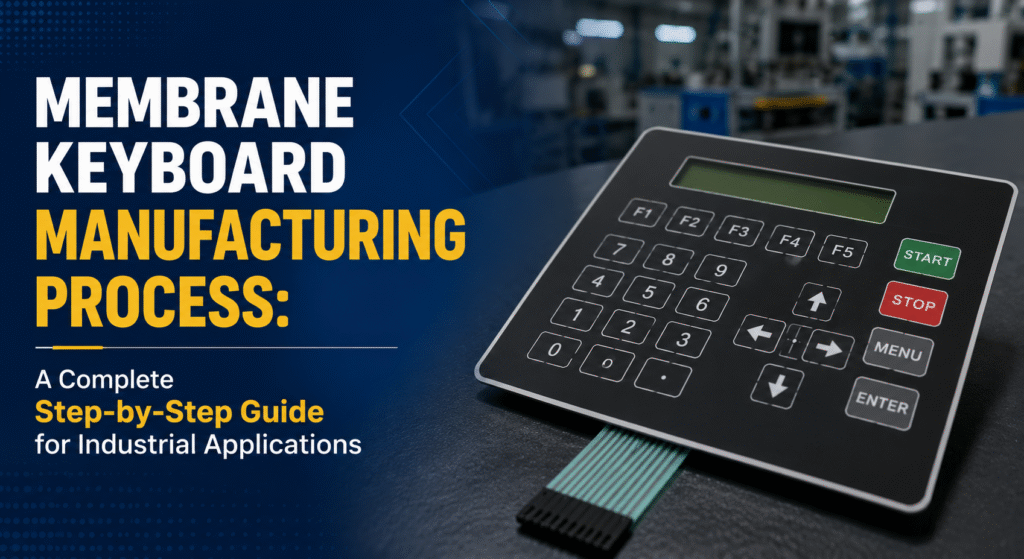
Introduction Membrane keyboards have become an essential component in modern industrial, medical, automotive, and consumer electronic devices. Known for their durability, compact design, cost-effectiveness, and customizable features, membrane keyboards offer reliable performance in demanding environments. At Cutek Circuits India Pvt. Ltd., we specialize in designing and manufacturing high-quality custom membrane keyboards that meet the specific requirements of various industries. In this guide, we’ll explore the complete membrane keyboard manufacturing process and understand how these innovative interfaces are produced for industrial applications. What is a Membrane Keyboard? A membrane keyboard is a low-profile input device consisting of multiple layers that work together to create electrical circuits when keys are pressed. Unlike mechanical keyboards, membrane keyboards use pressure-sensitive membrane switches to register user inputs. Key Features: Lightweight and compact design Waterproof and dust-resistant options Customizable layouts and graphics Long operational lifespan Cost-effective production Suitable for harsh industrial environments Components of a Membrane Keyboard Before understanding the manufacturing process, it is important to know the main components involved: Graphic Overlay The top visible layer containing printed symbols, logos, instructions, and key legends. Adhesive Layer Used to bond different layers securely together. Circuit Layer Contains printed conductive traces that form the electrical pathways. Spacer Layer Creates separation between conductive layers to prevent accidental activation. Rear Circuit Layer Completes the switching mechanism when pressure is applied. Backing Layer Provides structural support and insulation. Step-by-Step Membrane Keyboard Manufacturing Process Step 1: Design and Engineering The manufacturing process begins with detailed product design and engineering. Engineers create: Keyboard layout Key placement Circuit design Graphic artwork Connector specifications Environmental protection requirements Advanced CAD software is used to ensure precision and functionality before production begins. Important Considerations: Operating environment User interface requirements Electrical specifications Industry standards Durability expectations Step 2: Graphic Overlay Printing The graphic overlay is the first visible layer of the membrane keyboard. Materials Commonly Used: Polyester (PET) Polycarbonate (PC) The graphics are printed using high-precision screen printing techniques on the reverse side of the material. Benefits: Scratch resistance UV resistance Chemical resistance Enhanced durability Manufacturers can incorporate: Logos Branding elements Icons Instructions Color coding Step 3: Conductive Circuit Printing This stage forms the electrical pathways of the membrane keyboard. Conductive Materials Used: Silver conductive ink Carbon conductive ink Copper circuits (for advanced applications) Using screen printing technology, conductive traces are printed onto flexible substrates. After printing, the sheets undergo controlled curing processes to ensure conductivity and adhesion. Quality Checks: Circuit continuity testing Resistance measurement Print accuracy verification Step 4: Die Cutting and Layer Preparation Each membrane keyboard layer is precisely cut according to design specifications. Specialized die-cutting equipment creates: Key openings LED windows Display windows Vent holes Connector openings Precision cutting ensures perfect alignment during assembly. Step 5: Spacer Layer Fabrication The spacer layer plays a critical role in switch performance. Its purpose is to: Separate conductive layers Prevent unintended contact Maintain tactile response The spacer is manufactured using high-performance adhesive materials and accurately die-cut to match circuit designs. Step 6: Tactile Dome Placement For keyboards requiring tactile feedback, metal domes or polyester domes are added. Benefits of Tactile Domes: Positive key response Enhanced user experience Improved typing accuracy Audible and tactile feedback Automated placement systems ensure accurate positioning of each dome. Step 7: Layer Lamination and Assembly All layers are carefully aligned and laminated together. The assembly process includes: Graphic overlay Adhesive layer Circuit layer Spacer layer Rear circuit layer Backing material High-precision lamination equipment removes air pockets and ensures long-term adhesion. Step 8: Connector Integration The membrane keyboard must communicate with the host device. Common connector options include: Flexible tail connectors ZIF connectors Crimp connectors PCB-mounted connectors The connector is attached and tested for reliable signal transmission. Step 9: Functional Testing Every membrane keyboard undergoes extensive quality testing. Tests Performed: Electrical Testing Continuity verification Resistance testing Switch actuation testing Mechanical Testing Key life cycle testing Adhesion testing Tactile force measurement Environmental Testing Temperature resistance Humidity resistance Chemical resistance UV exposure testing These tests ensure compliance with industrial performance standards. Step 10: Final Inspection and Packaging The completed membrane keyboards undergo visual inspection to verify: Print quality Alignment accuracy Surface finish Functional performance Connector integrity Once approved, the products are carefully packaged to prevent damage during transportation. Industrial Applications of Membrane Keyboards Membrane keyboards are widely used across various industries: Industrial Automation Control panels Machine interfaces Process equipment Medical Devices Diagnostic equipment Patient monitoring systems Laboratory instruments Automotive Industry Dashboard controls Vehicle management systems Consumer Electronics Home appliances Smart devices Security systems Telecommunications Communication equipment Networking devices Advantages of Membrane Keyboards for Industrial Applications High Durability Designed to withstand millions of key presses. Environmental Resistance Protection against dust, moisture, chemicals, and UV exposure. Custom Design Flexibility Fully customizable shapes, colors, layouts, and graphics. Cost-Effective Manufacturing Lower production costs compared to mechanical alternatives. Space-Saving Design Thin profile makes them ideal for compact devices. Easy Maintenance Smooth surfaces are easy to clean and sanitize. Why Choose Cutek Circuits India Pvt. Ltd.? At Cutek Circuits India Pvt. Ltd., we provide complete membrane keyboard manufacturing solutions tailored to industrial requirements. Our Expertise Includes: Custom membrane keyboards Graphic overlays Membrane switches Flexible circuits Human Machine Interface (HMI) solutions Industrial control panel interfaces We combine advanced manufacturing technology, stringent quality control, and industry expertise to deliver reliable and high-performance membrane keyboard solutions for clients across India and global markets. Conclusion The membrane keyboard manufacturing process involves a combination of precision engineering, advanced printing technologies, and rigorous quality control. From graphic overlay design to final testing, every stage contributes to producing a reliable and durable interface solution for industrial applications. As industries continue to demand compact, durable, and user-friendly interfaces, membrane keyboards remain one of the most trusted technologies available. Partnering with an experienced manufacturer like Cutek Circuits India Pvt. Ltd. ensures superior quality, customization, and long-term performance for your electronic products. Frequently Asked Questions (FAQs) What is the lifespan of a membrane keyboard? Most industrial membrane keyboards can withstand 1 million to 10 million key actuations depending on design and